Coloring with pencils
While I was cleaning my room, I found a piece of paper offering some very good tips on using colored pencils. Ellen Millon wrote these to me via e-mail back in June 2000 when I asked her for a few tips. Click here to view her beautiful stuff. These following tips are extremely valuable especially when trying to draw people.
If you find these tips useful, you can find more of her articles and tutorials over here.
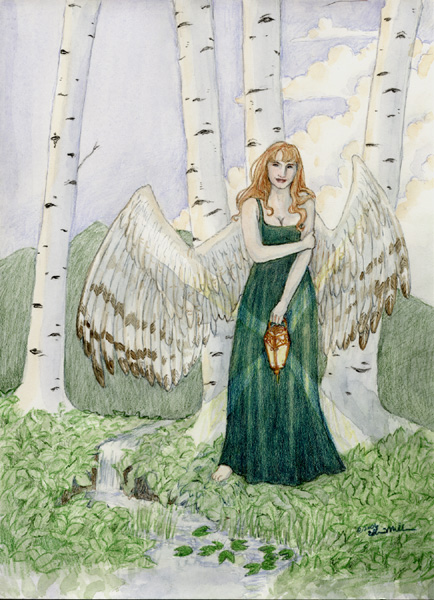
“Self-portrait with wings”, Ellen Million, colored pencils, 2006
Tips:
Get good pencils. Most of these techniques will only work with very waxy pencils, like Prismacolors, on good thick paper. (Bristol paper is the best)
Don’t try to erase them.
Sharpen them as often as you need to, I use an eyebrow pencil sharpener to avoid a lot of color waste.
I usually start with a light pencil or ink outline to figure out exactly where I want everything. Watch out for pencil, though, because the gray pencil lines will blend into the colored pencil, and can look messy. A very hard lead is best if you want to use a pencil sketch to start with. (I like to use ink because it’s so crisp, but it can tend to look a little cartoony.
Choose a light source, or at least a general direction that the light is coming from. Figure out where you want your shadows, and lay them in with a blue-gray (I usually use Slate Gray). Put the color on in a gradient, going from dark in extreme shadows (under chins, inside cuffs, etc.), to just the tiniest bit of color (under cheekbones…). Sometimes I add some green or purple to the shadows too. (Though you have to be careful with the green or the person looks sick).
For light or tanned skin, I use a combination of Terra Cotta, Henna and Sienna Brown, all slightly reddish browns, and put this color everywhere that shadows would be (right over the Slate Gray), and very lightly (darker for darker skin, of course) onto the rest of the skin. Leave white areas where highlights would be: the bridge of the nose, the forehead, tops of the cheeks, top of the arm, etc. Add extra Henna (pinkish brownish color) to the cheeks and the lips, or a darker red on the lips, if desired.
Now (for the skin, still), start to blend in the color with a light pencil. I usually use a French Gray 10%. It isn’t as starkly whit eas white (which looks pastey for skin), and it isn’t as yellow-y as Cream. (Cream also blends with the Slate Gray to look greenish). Use a tiny circular motion to blend some French Gray into the colors w hich are already down. You should apply some pressure to the pencil, and you will end up with a very coated, thick-looking color. If the tiny circular motion isn’t working, try little short lines following the contours of teh shape you are coloring. Really put the color down! You may want to experiment a little on the side before you color a special piece to figure out how much of the browns and blues you want to put down before you blend in the light color. It’s hard to put down even looking color on top of the blending color.
For silky or smooth textured items, use a true white as your blending tol, and be sure to leave lots of highlights. For red or blond hair, use a bright yellow. For something in the shade of something darker, use a darker gray.
The most important thing, though, is to really apply the color. Get so much wax down on the page that it looks like an oil painting.
As you get into the piece, you’ll notice that a filmy coating is developing on the color, sort of as if you can see each pencil stroke pushing around a layer on top of the color. Ignore this until the end. It is the wax that is not absorbed by the paper. When you are all done, take a clean cotton ball and delicately rub off the entire piece. It may smear the color a tad (really not much), so it’s a good idea to rotate the cotton ball to get a clean surface for each different area of color. You will be amazed at the gloss and beautiful finish on the color!
Hmm… Well I hope that helps. This isn’t the same technique that everyone uses, not by any means, and I seem to have concentrated on people, but I hope you get something out of this and that it is helpful to you!”

Comments
Post a Comment